Saturday, February 16, 2013

Bunny Friends

A couple of weeks ago I posted some photos of my day of coloring (you can read all about that here).  Well... I finally put one of those images to use.

Since the latest MarkerPop challenge is Texture, I decided to use the sweet little bunny pals in a card.

Sorry the lighting's not great!  It's a little grey and icky today.

After I spent that day coloring, I let everything sit until I was ready to do something mroe with them.  This was great because it gave the image plenty of time to dry so I could texture it.  (Usually I'm too impatient to wait for it to dry and can't get my colorless blender to do anything for me!)  I took a piece of an old dish towel, added some colorless blender solution and pressed it on the bunnies to give them a little furry look.


Once the image was ready, I matted it and the sentiment to a piece of green cardstock then adhered both of those to a piece of fabric (yup!  that carrot/stripe background is fabric!).

This stamp set is made to work with honeycomb paper so I had to try it out and the sentiment was just something I thought was perfect for the brown honeycomb paper...


These bunnies make me want the winter to hurry up and be over already!

Thanks for stopping by,

Angie

SUPPLIES:
STAMPS - Inky Antics Chocolate Rabbit HoneyPop set
INK - Memento Tuxedo Black
PAPER - Copic Xpress It, Co'ordinations Peeled Paint
COPICS - Left Bunny - W4, W6, W8; Right Bunny - E31, E35, Ears - E51, E55; Texture - 0
OTHER - Fabric, old dishclot, corner rounder


Tuesday, February 12, 2013

Feeling Spunky!

i had every intention of using the images I shared last post in some cards this week, but I had something else I was itching to do instead...layering an image

I started by printing Some Odd Girl's Spunky Sprite six times on a sheet of paper.  i looked at the image and figured out what parts i wanted on what layer and started coloring.


Once all of the coloring was done, it was time to cut them all out.


And once they were cut, I layered it all together.  I LOVE the final sprite!!


And here she is from the side.  I love the depth :)


Finally, here she is on a card... LOVE!


And since I layed the image, I thought I'd play a little with layering the card front papers as well...


ETA: check out some of the layering here - amazing and such tiny pieces!

Thanks for stopping by!

Angie

SUPPLIES:
STAMPS: Some Odd Girl Spunky Sprite digi, Paper Smooches Chit Chat
PAPER: My Mind's Eye Lime Twist Life of the Party, Stampin' Up! Gumball Green and Early Espresso, Copic Xpress It
INK: Versamark, Walnut Stain Distress Ink
COPICS: skin E00, E01, E11, E13, R20, BV20; wings C0, C1, C2; eyes G43, G21, G46; hair YR27, E53, E55, E57; clothes R20, R32, R22, BG10, BG11, BG32
OTHER: Kiwi Lane Design Templates Adorn, Hoenydew twine from the Twinery, Stampin' Up! brights buttons, Crystal Stickles, white embossing powder

Friday, February 8, 2013

A Day to Color

I have so many ideas buzzing around in my head that I couldn't focus on just one project today, so I made today a coloring day. I sat at my desk and colored until my back just couldn't handle being hunched over any longer. Here's what I colored today (all of which will be used in the many projects I have planned!!!).


Here's close up of the stamped images coloredwith Copics:


The next picture isaclose up of three outline stickers that I colored:

Lastly (and probably my favorite ones)... outline stickers on glittercoloredwith Copics.  i love all that sparkle!

Thanksfor stopping by.  i'll bebackto share the finished projects...once they're done ;)

Angie 

Sunday, February 3, 2013

Bring on the spring

Well, now that the ground hog has seen his shadow, I'm bringing on the spring with some fun House Mouse stamps.  The first one up would be a great Easter Card:


I colored the image with my Copics, rounded the corners, and adhered it to the two layers of puprle (one of which I pierced around).

One of my least favorite things about the warm weather is the buzzing bees that seem to pop up everywhere.  If our bees were like the ones in this image, I might be okay with them:


Again, I colored the image with my copics, matted it on the layers of black and yellow.  The card base is black embossed with the hexagon background.  To finish it off I add some Stickles to the wings.  Here's the sparkly-ness up close:


Who wouldn't love a bunny-bee?!?!?

Thanks for stopping by,

Angie

Sunday, January 27, 2013

Ball of Cuteness

Wow!  It's been almost two weeks since I've posted.  I can't believe how time has flown by these last couple of weeks.  I've been busy making some samples for a local store, Farmhouse Memories, with some adorable little stamps that she's starting to stock.  I thought I'd finally do a post to share a couple of them...


I started off small, by making this little gift tag:

I stamped the Stampabilities House Mouse Make a Wish 2 image, colored it with my copics then used a mid-sized Spellbinders rectangle to cut it out.  I rounded the corners with my corner chomper.  I attached the image to the scalloped rectangle (also cut from a Spellbinders die) with foam tape and added a little line of sparkly stickers from Starform.  I added an eyelet to the upper left corner and finished it off with some green ribbon.

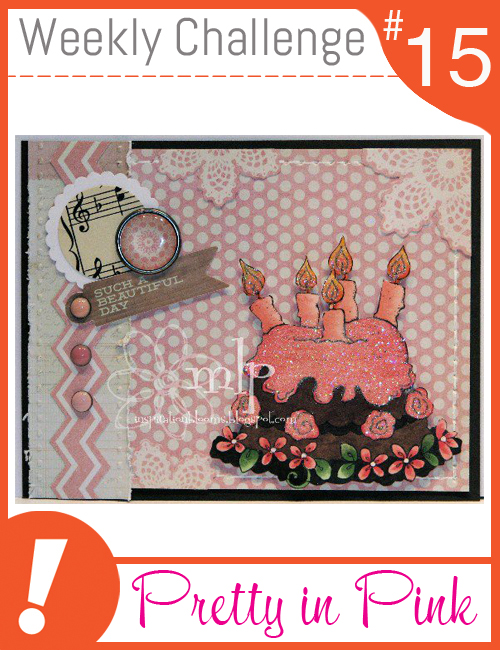
The second one I'm sharing with you, I'll also be throwing into MarkerPop's latest challenge #15...

The theme is perfect for valentine's day (or just a love themed card), which I thought was perfect for this stamp:

For this one, I used Stampabilities House Mouse Close Knit Friendship.  Colored it with a few light R Copics.  I used a Spellbinders die to cut out the image and also the Lacey Circle that it was matted on.  Then I used some sewing floss to crochet around the edges - I would have used yarn, but apparently in my massive stash, I have no pink!  The sentiment is from Variety Pack 2 by Words to the Rescue.  The inside goes on to say, "One fabulous couple.  Happy Anniversary."

Thanks for stopping by, 

Angie


Tuesday, January 15, 2013

Grayed Thanks

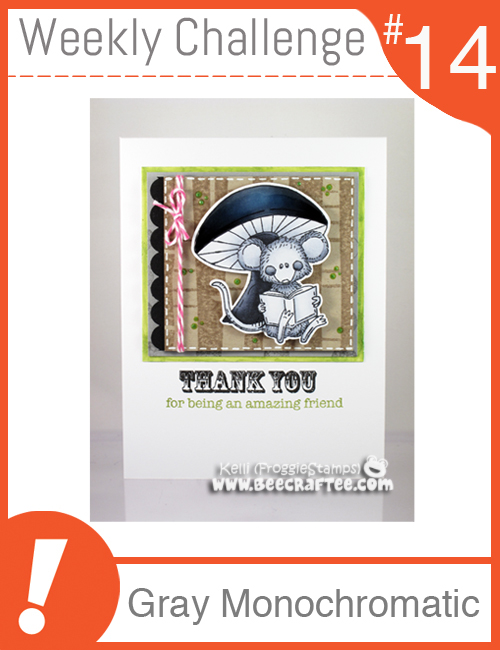
MarkerPop's current challenge is Monochromatic Gray.  The last time I did a challenge like this, I used my cool grays and ended up with this card.  So this time around, I decided to use my warm grays and color up this Gorjuss Image:


I used the W markers for the entire image.  Then I let it sit over night and added a little bit of texture to the foxes using my colorless blender.  I love how that marker can do so much, but I'm usually pretty impatient, waiting for things to dry.  Since the warm grays look like an old timey photo, I dug out some paper that had a vintage feel - it happened to be a Christmas paper pad, but I think it looks great as a thank you card.

I'm playing along with this challenge:


Thanks for stopping by,

Angie

SUPPLIES:
STAMPS - Gorjuss Little Foxes, Words to the Rescue Variety Pack 2
INK - Memento Tuxedo Black, Versamark
COPICS - all W markers, 0 
PAPER - Carta Bella Christmas Day
OTHER - White Embossing Powder, Stampin' Up! Neutrals Brads, Foam adhesive

Friday, January 4, 2013

Happy New Year!

Is your new year off to a good start?  After having some of the in-laws in town for the holidays, I finally had some time to get up to my craft room and have a little fun.

I recently got this adorable stamp at my local scrapbooking store and was itching to color it up.  Here it is:


After coloring the main image with my copics and cutting it into the wonky rectangle,  I stamped it again on some masking paper.  It took me quite some time to get it cut out with all of those little blades of grass, but it was finally cut out so I masked my coloring, added a few cloud die cuts from the same masking paper and airbrushed the sky.  I airbrushed it with a blue copic marker then after removing the cloud masks, decided it needed a little bit of gray, it is raining after all.

I matted it on a larger wonky rectangle, then adhered that to a standard size card that I clear embossed with that amazing background stamp.  To finish it off, I colored a piece of white seam binding with the darkest copic from the flower and added that to the side.  Such a cute mouse!

Thanks for stopping by!
Angie

SUPPLIES:
STAMP - Stampabilities House Mouse  - Flower Drop, Market Street Stamps Punched Tin
INK - Memento Tuxedo Black, Versamark
PAPER - Copic Xpress it Blending Card, Stampin' Up! Wisteria Wonder
COPICS - Flower: V20, V22, V28; Grass/Leaves (using the pallete method) YG03, YG99; Mouse: C0, C2, C4, C6, E50, E51, E53; Rain drops: C1, C5, 0; Sky (airbrushed): B21, C3
OTHER - Spellbinders Wonky Rectangles Dies, Cloud dies, Eclipse Masking Paper, Seam Binding Ribbon, Clear Embossing Powder