Showing posts with label elizabeth crafts. Show all posts

Sunday, October 26, 2014

You're not old...

I always have problems trying to make a masculine card, so this year for my dad's birthday card, I found a 6x6 pad of paper by Authentique that was masculine and stuck to those colors.  I kept the lay out really simple and I think I kept it pretty masculine.


I used a car outline sticker from Elizabeth Craft Designs and paper pieced it onto blue card stock.  I used my wink of stella and wink of luna pens to color in some accents.  Then I matted it all on paper from that pad and stamped the sentiment with Clark's ABCs from Lawn Fawn.


For the inside, I used some scraps from the paper pad to add a little interest and finished the saying with the same alphabet stamp.  Clean, simple, and masculine :)

I'm playing along with Inspiration Destination's Anything Goes challenge this week.

Thanks for stopping by!

Angie


Sunday, June 29, 2014

More Glitter :D

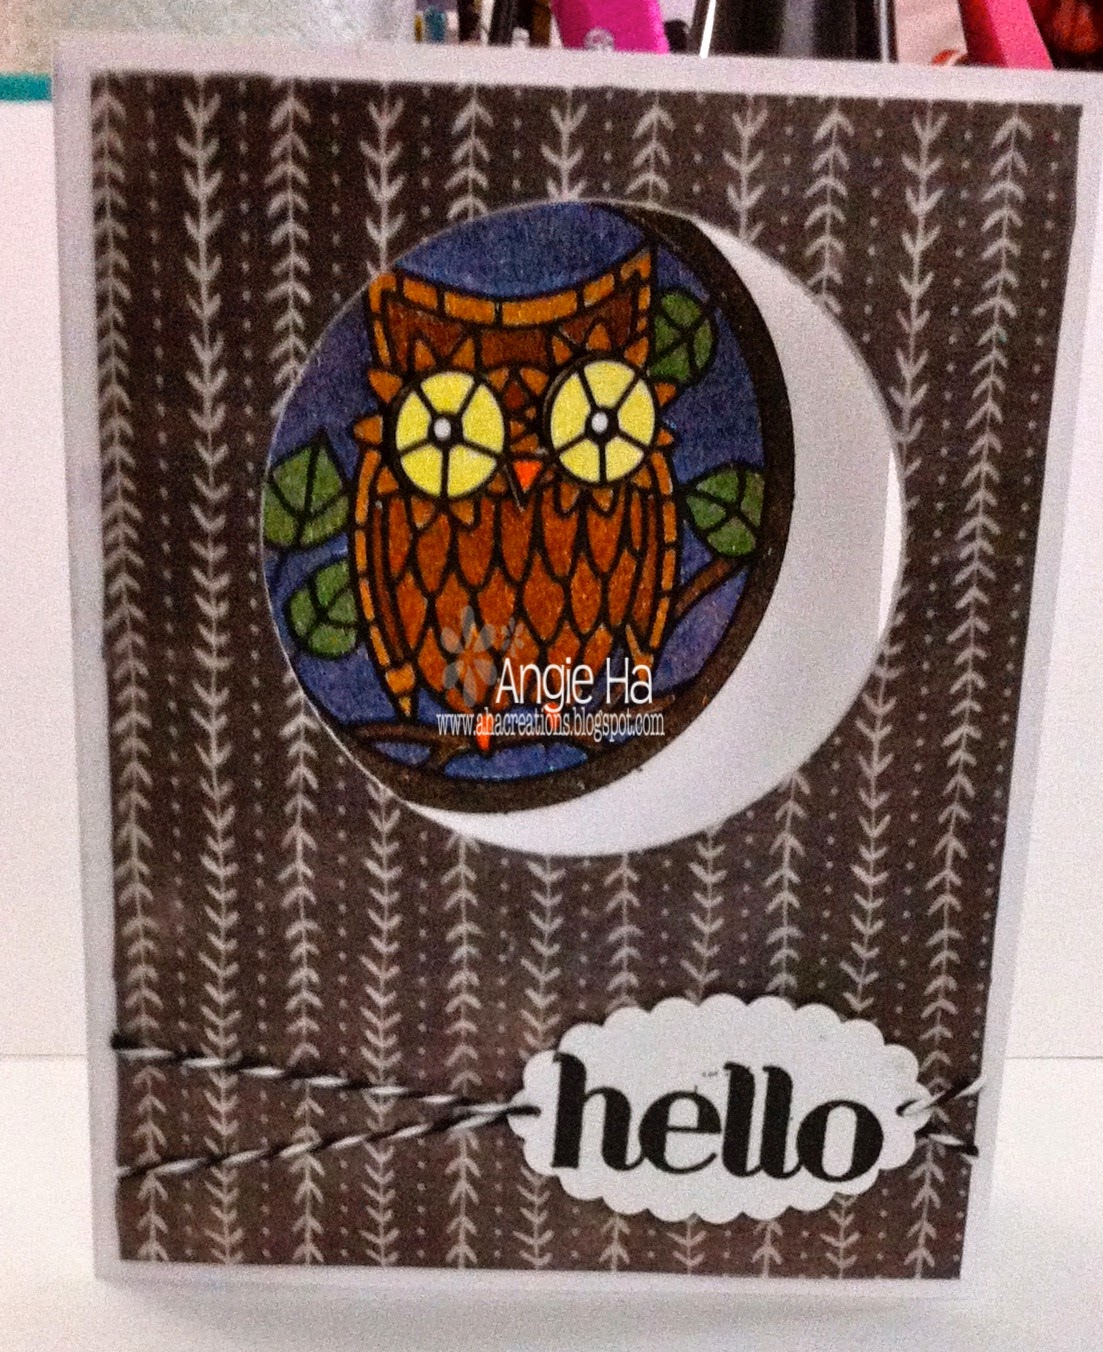
I'm playing with glitter and outline stickers again :)  I got these cute Owl Circle outline stickers and came up with this little card...


I colored with Copics on the glitter and popped it on the inside of the card after creating a window on the front.  The pattern on the from is a washi sheet so it adds a slightly different texture to the front.  Here you can see that the owl is on the inside:


And lastly, a quick close up of the glittery goodness!


Thanks for stopping by!

Angie

SUPPLIES
Elizabeth Crafts Owl Circles
Copics
foam tape
White card stock
Stampin' Up! scalloped circle punch
black and white twine
WeR Memory Keepers Washi sheets
1/16" hole punch
Stampin' Up! Four You


Sunday, June 15, 2014

Glitter, Stencils, and Stickers!

Hello, my name is Angie and I am addicted to outline stickers!  I don't use them as often as I should considering the number of them that I've accumulated.  I recently got a couple sets of stickers that were little garden fairies and rushed home to do something with them.  I decided since they are fairies, coloring them on glitter was the way to go.  I covered some paper with ScorTape, burnished on some glitter, added a few stickers, and got to coloring.


After that, I couldn't decide what to do with them.  So they sat on my desk for a couple of weeks while I figured it out.  Then when I watched on of Darlene's recent videos, I was inspired.  (See her video here.)  I loved the card layout and thought these girls would look great on a hill of their own!


I didn't put any sentiments on so they could be used for whatever.  There was a ton of die cutting involved, some distress inks, colic airbrushing, embossing paste, ad lots of time, but I love this little set of blank cards.

I'm playing along with the following challenges:

Simon Says Stencil It

MarkerPop #45 - Anything Goes

Thanks for stopping by,

Angie

SUPPLIES
120 lb card stock for card base
white card stock
Dreamweaver's white embossing paste
Stampin' Up! Iridescent Ice Embossing Powder
Elizabeth Crafts - Flower Cuties 1 and Flower Cuties 2 outline stickers, Ultra fine glitter
Copics and Airbrush
Sweet and Sassy Cloud dies
Masking Paper
Distress Inks - Mowed Lawn and Peeled Paint
Distress blending tool
Stencil
Spellbinders A2 Curved Borders One