Showing posts with label thanks. Show all posts

Sunday, March 24, 2013

Watercolored Mae

Today, I put away the Copics and pulled out my new Distress Markers to play along with some challenges.  I'm really liking the new markers ;)  Here's my card:


And a close-up of the watercoloring:

It's really hard to see in the pics, but I added some glitter to the yellow with a Spica pen for a littler shimmer.

This card is for:
Some Odd Girl March Sketch Challenge
  

Thanks for stopping by!
Angie

SUPPLIES:
STAMPS - Some Odd Girl Thank You Mae
INK - Stazon Jet Black, Versamark, Distress Markers in Tattered Rose, Mustard Seed, Black Soot, Tumbled Glass, and Faded Jeans
PAPER - Fluid Coldpress Watercolor pad, Stampin' Up! Daffodil Delight and Night of Navy, Origami Paper
OTHER - water brush, Spica Buttermilk pen, white embossing powder, light blue ribbon


Friday, December 21, 2012

Gorjuss Thanks

I have amassed quite a few cards in the year or two that I've been making them and I finally realize that I don't give out nearly as many as I make.  I don't want to stop making them, but I don't want to have to store them in boxes taking up precious space (that could be used for more crafty supplies ;D), so I've decided to try something new.  Instead of making a full card, I just made a card front.  I figure, I can go back later and add it to a plain card base if I find someone to give it to.  Until then, I may store them in a photo album or something... that part is still to be determined.

So to try out my new plan, I created a card for the latest MarkerPop challenge: Dark Colors.


I actually colored her twice - once in dark blue then in dark teal.  All because I wanted to use this paper from Authentique!  Next time I pick the paper before I start coloring!

Have a great weekend,

Angie

SUPPLIES:
STAMPS - Gorjuss Little Foxes; Casual Fridays Big Thanks
INK - Memento Tuxedo Black; Versamark
PAPER - Authentique Celebrate collection; Copic XPress it
COPICS - Hair: C5, C7, C9, 100; Skin: E000, E00, E11, E13; Clothes: BG72, BG75, BG78, R39, R89, C0, C1, C3; Foxes: E15, E18, E29, E57, E89, E35
OTHER - Black Embosing Powder, Corner Rounder


Sunday, September 9, 2012

Petitte Floral Thank You

It's been a while since I've played along with the Lawnscaping Challenge, but I had to play along with this week's sketch challenge:


I followed the sketch almost exactly, but I flipped it 180 degreees and put the strip/circle at the bottom -

I stamped three of the flowers from Lawn Fawn's Petitte Florals set with a white craft ink on black cardstock.  Then I used three shades of red and a green prismacolors to color them in.I put some polka dot washi tape on a strip of black.  Then I heat embossed the LF thank you and added a pierced white scallop behind it.  I mounted it on a white card base then added a few rhinestones to the center of the largest flowers.

I love how the prismacolors pop on the black... great look!  And since I embossed the sentiment, I'm also playing along with CAS-ual Fridays embossing challenge this week.

Thanks for stopping by.

--Angie

SUPPLIES:
STAMPS - Lawn Fawn Petitte Florals and Thank You 
PAPER - Stampin' Up! Basic Black and Neenah Solar White
INK - Versamark, Stampin' Up! Whisper White Craft Ink
OTHER - Prismacolors, White embossing powder, rhinestones

Tuesday, April 10, 2012

Ribbon Embossing

This past Friday, Danielle Daws posted a video tutorial on embossing on ribbon (check it out here).  I loved how it looked so had to give it a try.  Then I saw the lastest inspiration photo for the Paper Smooches Sparks Challenge: 
and I knew exactly how I wanted my card to look...


The inspiration I got from the challenge photo was text only and the color pallette - blue, orange, black, and white.  I loved how it turned out that I ended up making two more cards with different sentiments:

and


Lastly, here are all three together:


I can't wait to try more ribbon embossing!

--Angie

SUPPLIES - 
PAPER: Neenha Solar White
STAMPS: Paper Smooches Sentiment Sampler and Good Gab; Hero Arts Newspaper Background
INK: Versamark; Stampin' Up! Pumpkin Pie
OTHER: Zing Black Embossing Powder; Heat Gun; Ribbon from stash; 1/2" Corner Chomper


Tuesday, November 8, 2011

Thanks a Bunch

For my birthday, I got a set of Prismacolor pencils which I've been itching to get.  I finally put them to use:


I love how they pop on the kraft colored card stock.  I cut the shape from the bottom right corner.  Masked off the strip across it and stamped the flowers.  After I colored them all in, I covered them with some crystal lacquer to make them shiny :-)  Pretty quick and simple!


--Angie


SUPPLIES -

Saturday, September 10, 2011

Dad's BDay Card Set


I posted some pictures recently on my flickr page of some cards that I gave my dad for his birthday.  (I couldn't post them here, in case he decided to check in on the blog :-))  I always have problems coming up with gift ideas for him and this year was no different.  I decided that I would offer up my card making and offer to make him a set of Christmas cards - using his input to come up with a set that matched his tastes not mine.  But since I hadn't talked to him about it yet, I didn't have any cards made and wanted to give him something, so I made a set of some other miscellaneous cards - a couple of birthday cards, thanks, get well, etc.  Now that he has received his birthday gift, I can post them on the blog!  So here they are, in no particular order -


also entered in Wee Memories #66 here


Also entered in CPS #234 here


--Angie

Monday, September 5, 2011

Splash of Color


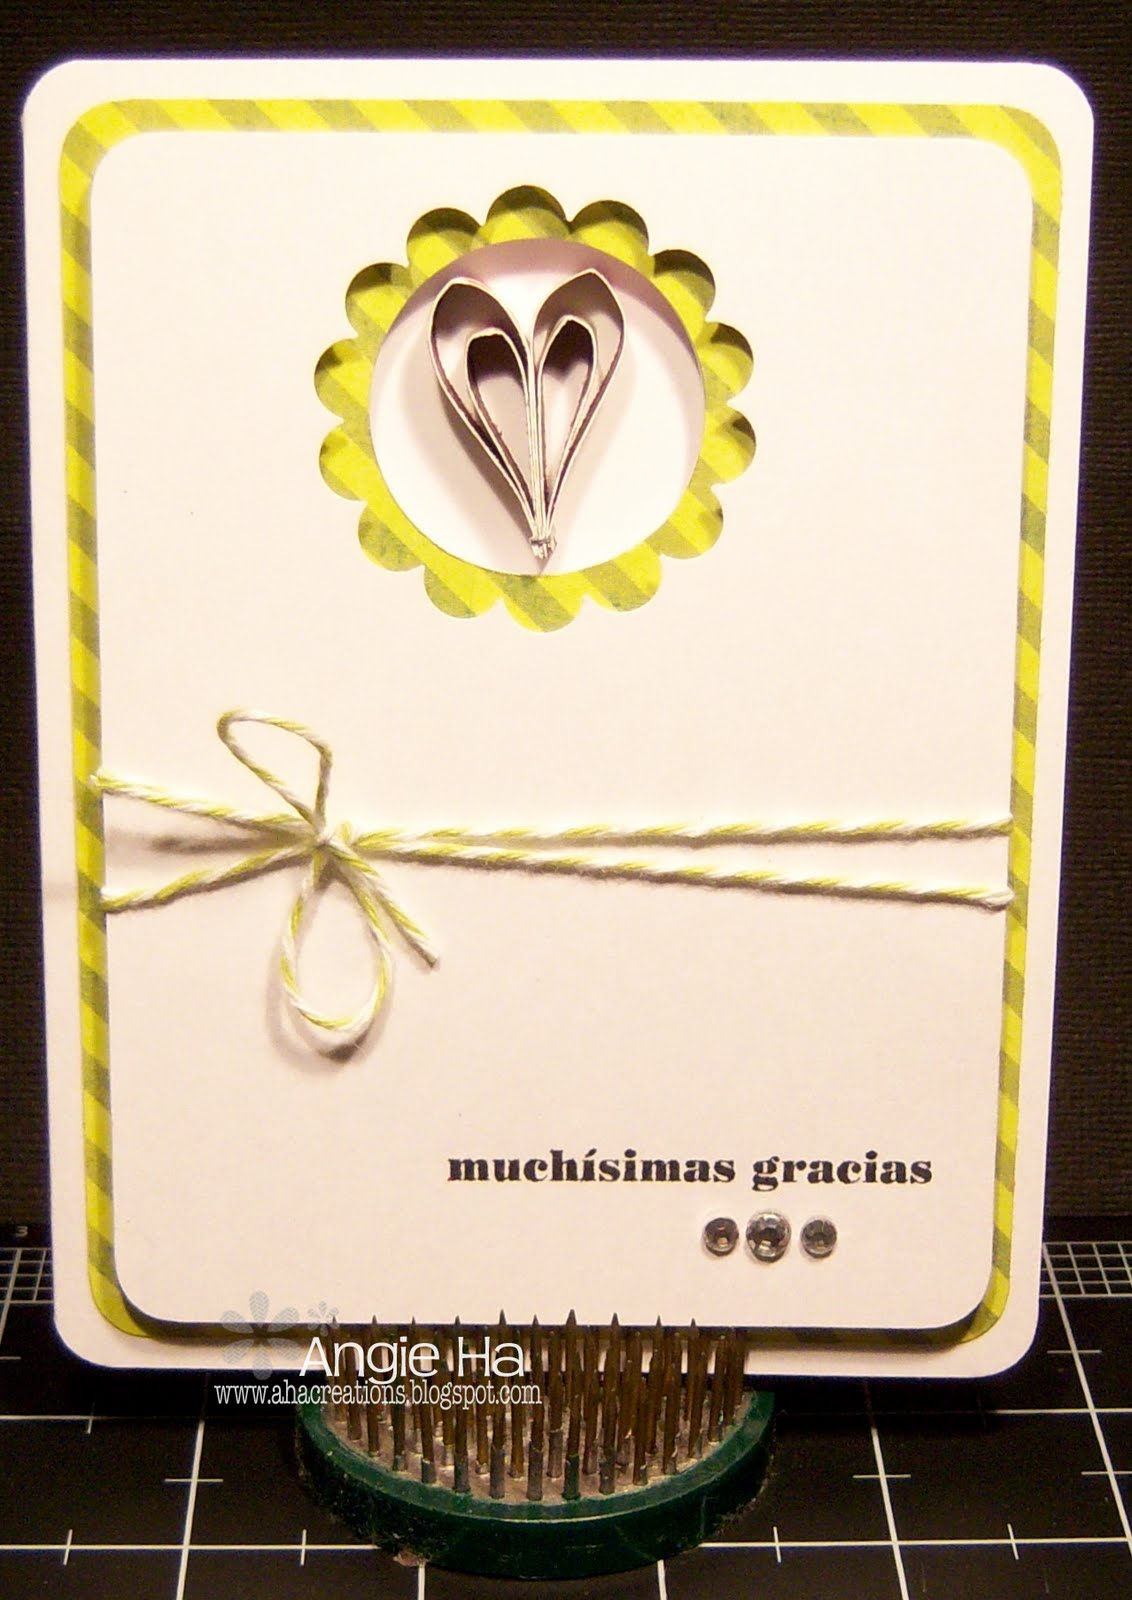
Last week on her blog, Jennifer McGuire showed how she made this adorable banner for her son.  I loved the hearts she used to make it - they're so easy to make! - but I don't have much use for a banner.  So ever since I watched her video, I've had it stuck in the back of my mind that I wanted to do something with that heart.  And I finally figured it out!!

I decided to scale down her banner heart into a small card sized heart and came up with this - 

I made the heart with 1/4" thick strips of red paper.  The outer loop was 2 1/2" long and the inner loop was 1 1/2" long.  I inked the edges of the heart with matching ink to get rid of the white core that was peeking through.

It took some trial and error (so I spent a little longer making this card then I was planning!) to get the heart's frame just right.  The heart is actually glued to the inside of the card. 


I wanted to center the small circle on the front, but my circle punch didn't fit to the center.  Then I remembered, I do own a MS Circle Cutter which rarely gets used, but was perfect for this card.  I adhered the black card stock to the white card base and cut the 1 3/8" circle through both layers so they'd be perfect!  I figured out where that circle laid on the final white layer and marked it.  Since this layer was smaller than the others, the scallop punch was able to fit to the center of the card.  

Before ading the final layer, I added a twine bow, and stamped and embossed the sentiment.  I wanted a little more splash of red, so I added some red rhinestones under the thanks.  To finish it all off, I put the white layer up on dimensionals to match the height of the heart.   

I'm loving how it turned out and may have to do it again with other colors and sentiments.
This card will be playing along with:


--Angie

(and I'm trying out the new InLinkz Link Manager for my supply list!!)